Amos' Notes on Making Vacuum Tumblers
From Knox Makers Wiki
In April 2024 I made some dye sublimation vacuum mugs for some graduating seniors. I learned a few things along the way.
With respect to digital job setup:
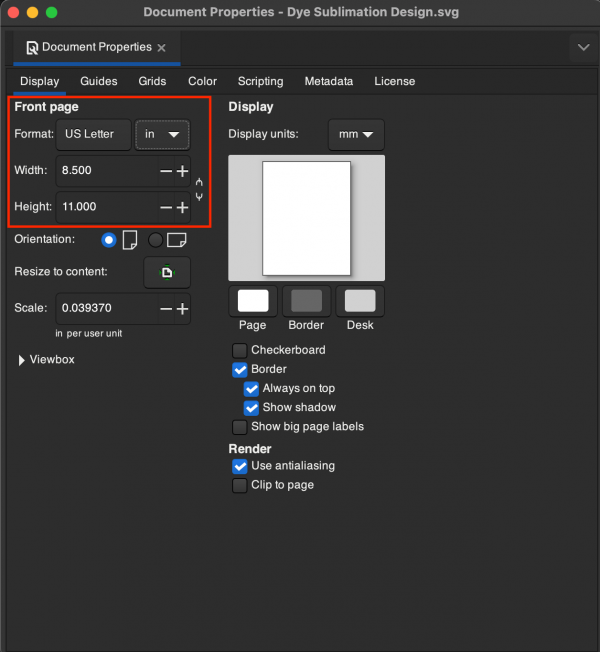
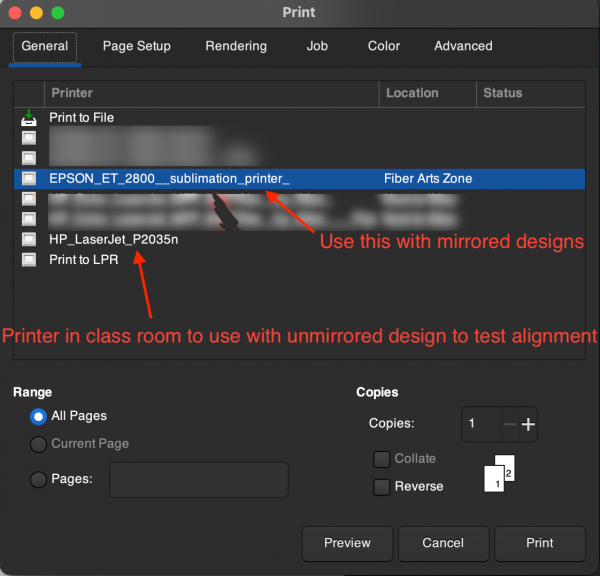
- Design what you want in Inkscape and print it with a classic black and white printer first so you can cut it out and make sure the alignment will work as intended on the tumbler. You need to set Inkscape up so it prints on a "letter" sized (8.5x11in) paper for everything to work properly with our printer. This menu is found in File → Document Properties or by pressing [ctrl/cmd]+[shift]+[D]. A
- Once you have the alignment right with the black and white print out on the laser printer, select everything with [ctrl/cmd]+[a], and flip it left to right with [h]. In the print settings you want to select the dye sublimation printer on the first page.
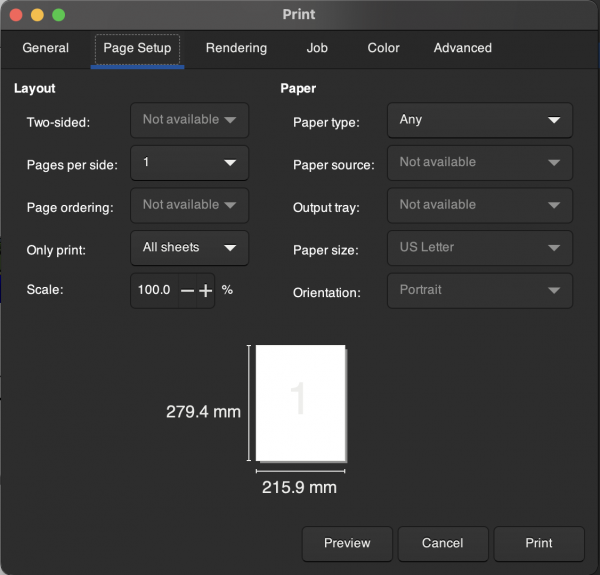
- Some of the settings like "paper size" on the "page setup" tab may be grayed out because in Inkscape those settings may be controlled by the document setup dialog mentioned in the first part.
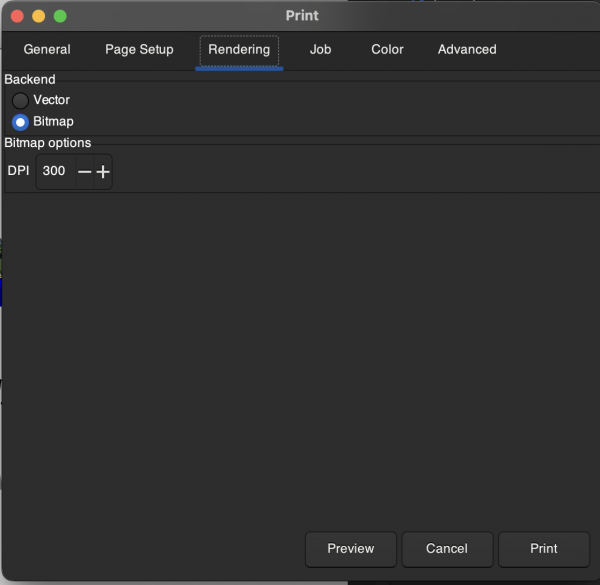
- This part is important: In the rendering tab, by default the printing function is going to render using method "vector." You don't want this if you have embedded any raster images in your document such as jpgs, pngs, etc. For whatever reason, it may render out the raster images as a really low DPI even if they look crisp in the preview which will look crummy on the mug and there's no way to change this. Instead change the method the "bitmap" and set the DPI to 300.


